
Ingesting data from Amazon Redshift to Sagemaker
Amazon Redshift is a SQL-based data warehouse whereas Amazon Sagemaker is the main machine learning platform on AWS. A machine learning project that involves massive datasets would usually require these two services, hence its important to understand how to ingest data from Redshift to Sagemaker.
This guide is written with the following assumptions:
- You have created a Redshift cluster that in enclosed within a Virtual Private Cloud (VPC)
- You have created tables within the Redshift cluster
- You have created a secret that contains Redshift credentials in the
SecretsManager
Approach 1: Traditional Method
1. Create and verify IAM role
Go to IAM > Roles, then create a role that allow access to the following micro services:
- Sagemaker
- Redshift
- SecretsManager
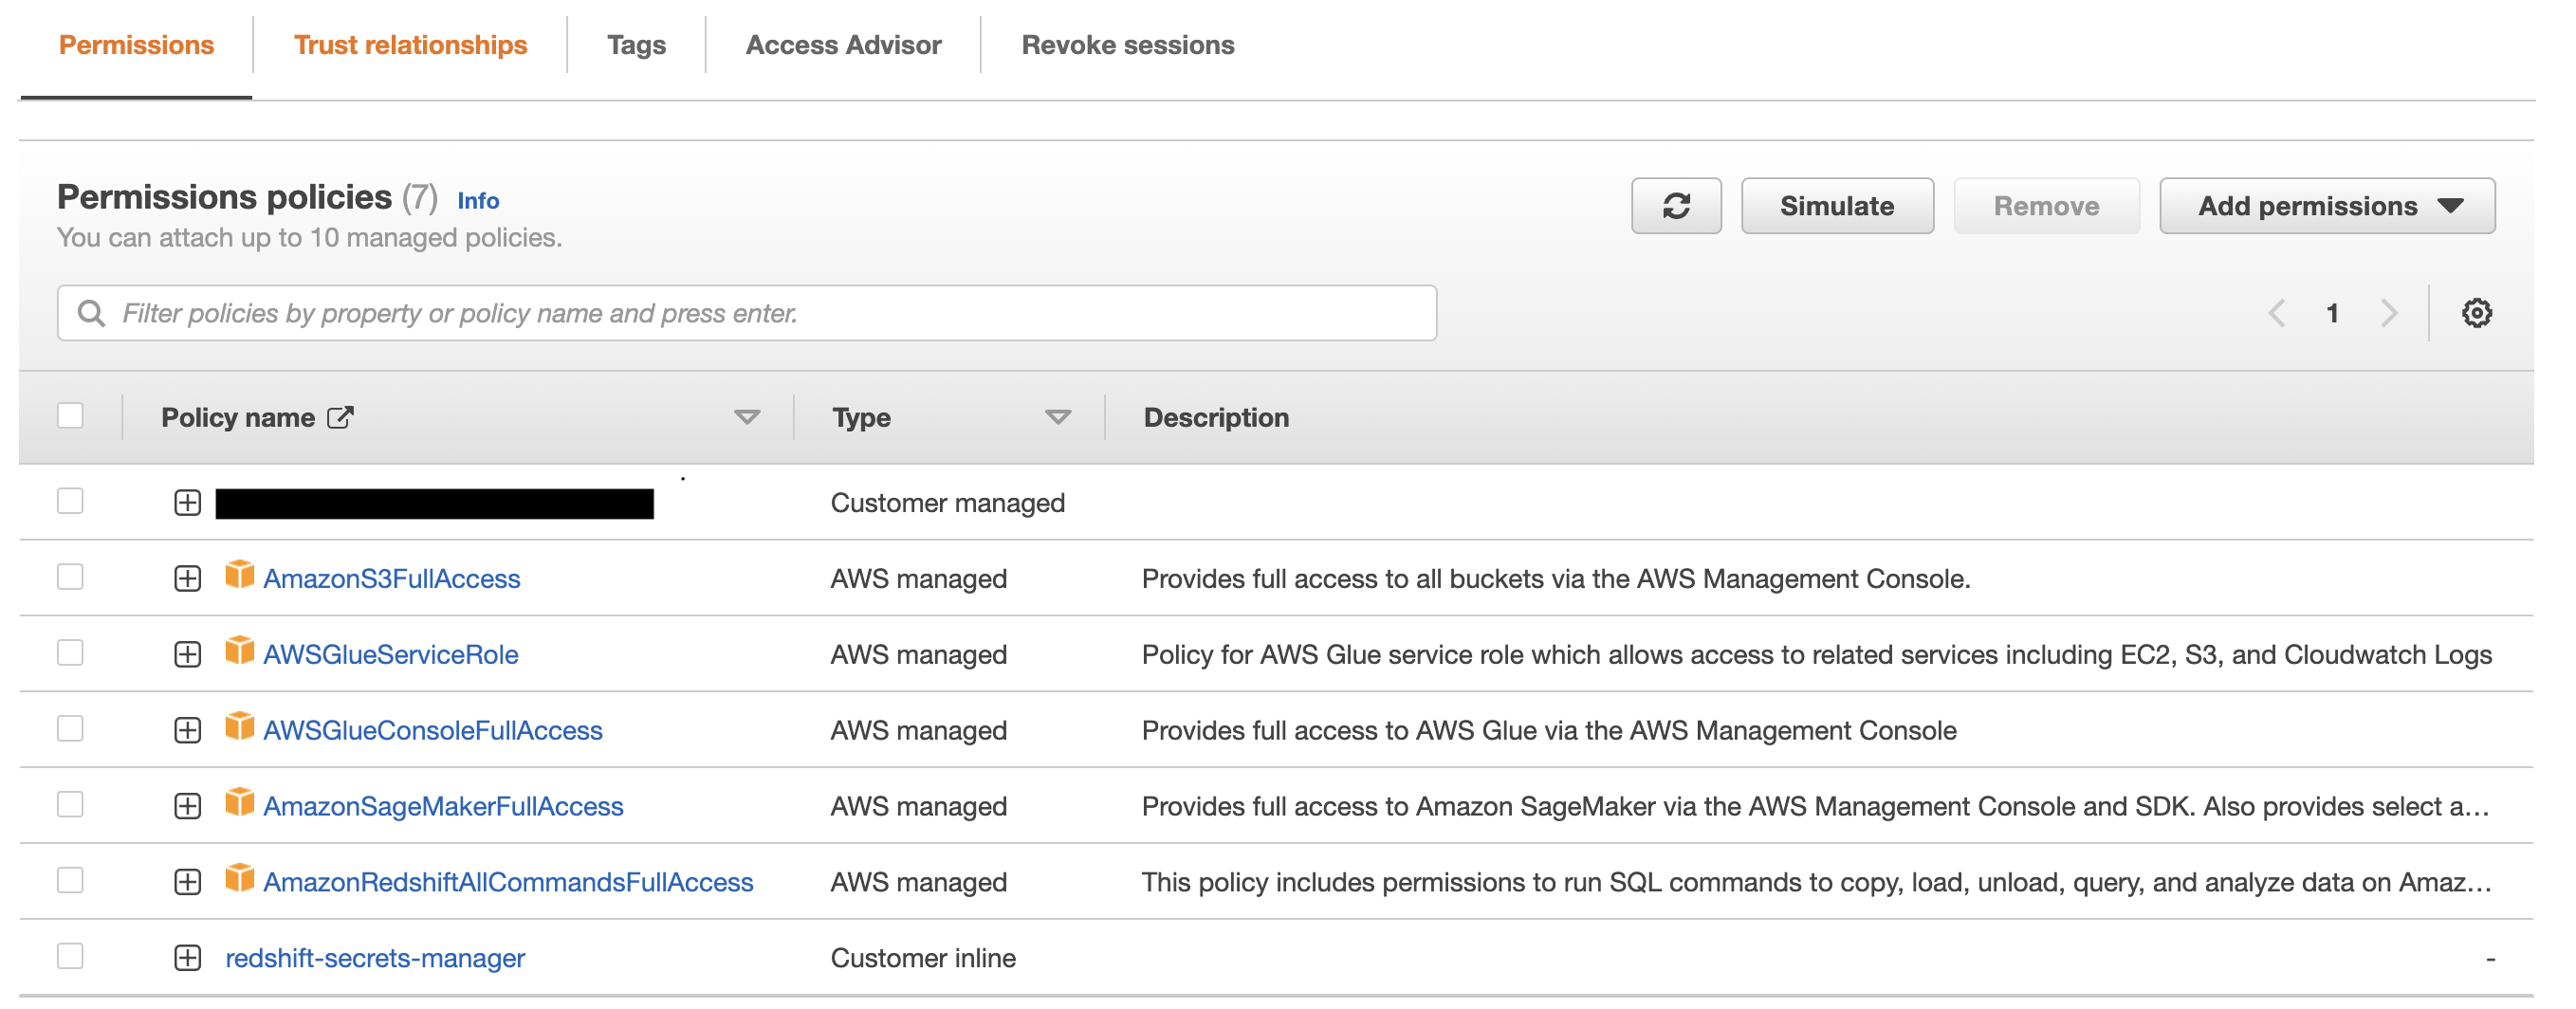
In addition, verify if you have added a Trust Relationship for both Redshift and Sagemaker, as shown below.
{
    "Version": "2012-10-17",
    "Statement": [
        {
            "Effect": "Allow",
            "Principal": {
                "Service": [
                    "redshift.amazonaws.com",
                    "redshift-serverless.amazonaws.com",
                    "glue.amazonaws.com",
                    "scheduler.redshift.amazonaws.com",
                    "sagemaker.amazonaws.com"
                ]
            },
            "Action": "sts:AssumeRole"
        }
    ]
}
If you aren’t sure about this step, refer to my previous blog post.
2. Create Jupyter notebook on Sagemaker
Once you have sorted the permissions, it’s time to create a Jupyter Notebook on Sagemaker! Ensure that the notebook has the same VPC as Redshift’s.
3. Establishing a connection
Run this code on Jupyter, replacing the square brackets with your own information
import boto3
import json
import sagemaker
from sqlalchemy import create_engine
from sqlalchemy.orm import sessionmaker

# Assume role
sts = boto3.client("sts")
redshift = boto3.client("redshift")
sm = boto3.client("sagemaker")
session = boto3.session.Session()
print(session)
sagemaker_session = sagemaker.Session()
role = sagemaker.get_execution_role()

role_name = role.split("/")[-1]
print("Your Role name used to create this notebook is: {}".format(role_name))

# Get credentials
secretsmanager = boto3.client("secretsmanager")
secret = secretsmanager.get_secret_value(SecretId="[YOUR SECRET ID]")
cred = json.loads(secret["SecretString"])
master_user_name = cred["username"]
master_user_pw = cred["password"]

# Redshift cluster details
redshift_cluster_identifier = "[YOUR REDSHIFT ID]"
redshift_port = "5439"

# check cluster status
response = redshift.describe_clusters(ClusterIdentifier=redshift_cluster_identifier)
cluster_status = response["Clusters"][0]["ClusterStatus"]
print("Cluster status is:", cluster_status)
redshift_endpoint_address = response["Clusters"][0]["Endpoint"]["Address"]
print("Redshift endpoint: {}".format(redshift_endpoint_address))
'''
Hierachy: Database -> Schema -> Tables
'''
database_name = "[YOUR DB NAME ON REDSHIFT]"
# Create connection to Redshift
engine = create_engine(
"postgresql://{}:{}@{}:{}/{}".format(
master_user_name,
master_user_pw,
redshift_endpoint_address,
redshift_port,
database_name
)
)4. Test with a SQL script
%%time
sql_statement = """
    select *
    from schema.table
"""

df = pd.read_sql_query(sql_statement, engine)
df.head()
Approach 2: Redshift Data API
If you can’t be bothered with configuring IAM and VPC settings, there is a simpler alternative — Redshift Data API. I haven’t written a guide for this method because AWS developers have already written a comprehensive documentation.
Comments